On this page
- Never use undiluted bleach on the door gasket; the guide gives a diluted mix. 1
- The drain pump filter catches lint, buttons, keys and coins before they reach the pump. 1
- The inlet screens can clog with hard water scale or sediment, and the washer must not run without them. 1
- The guide ties a musty smell to the gasket, the drain filter and the drain hose. 1
- Unplug the washer before any cleaning. 1
What does a Kenmore front-load washer need every month?#
Three owner tasks come up in the 796 front-load guide: the door seal, the drain pump filter and the water inlet filters. The seal and the drain filter are the monthly ones. The inlet screens need cleaning when the washer fills badly. 1
None of them needs a tool beyond a pan, a cloth and a little vinegar. Together they cover three of the most common complaints on a front-loader: a musty smell, water that will not drain and water that will not fill.
The guide's own wording on the smell is worth repeating. It names residue on the gasket, a foreign object in the gasket, a clogged drain pump filter and a clogged or kinked drain hose, all in one row. 1 So the routine below is also your smell routine.
How do I wipe down the door seal and glass?#
Mix 3/4 cup of liquid chlorine bleach into 1 gallon of warm or hot water, wipe every surface of the gasket and the glass, dry them, and leave the door ajar on its magnet. Wear rubber gloves and eye protection. 1
The guide's reason is simple: because of where the seal sits, detergent and soil residue build up on the glass and the gasket, and a periodic bleach wipe helps remove stains and sanitize the seal so it does not smell. 1
- 1
- 2
- 3
- 4
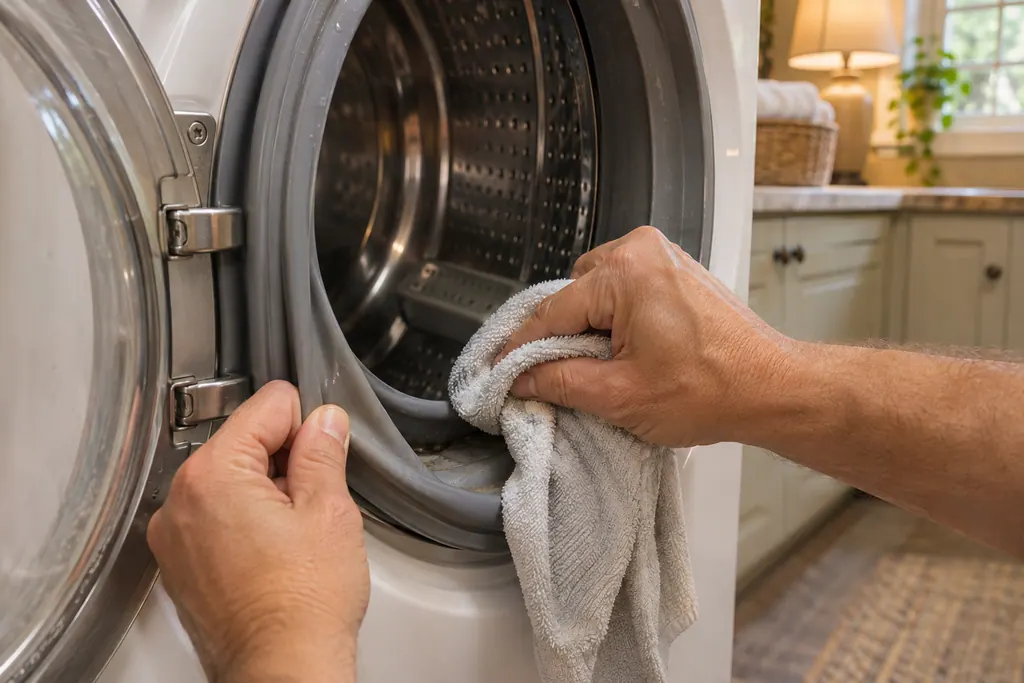
Never use undiluted bleach on the gasket. The guide says it can damage it. 1
What about the door magnet and the wipe after each load?#
The guide says to wipe moisture off the door and the seal after use and to leave the door ajar so air can circulate. It recommends the door magnet for this. 1
That habit is the cheapest part of the routine. Damp laundry left in the drum is another cause the guide gives for odor, along with wrinkling and color transfer. Take the laundry out soon after the cycle finishes. 1
How do I empty the drain pump filter?#
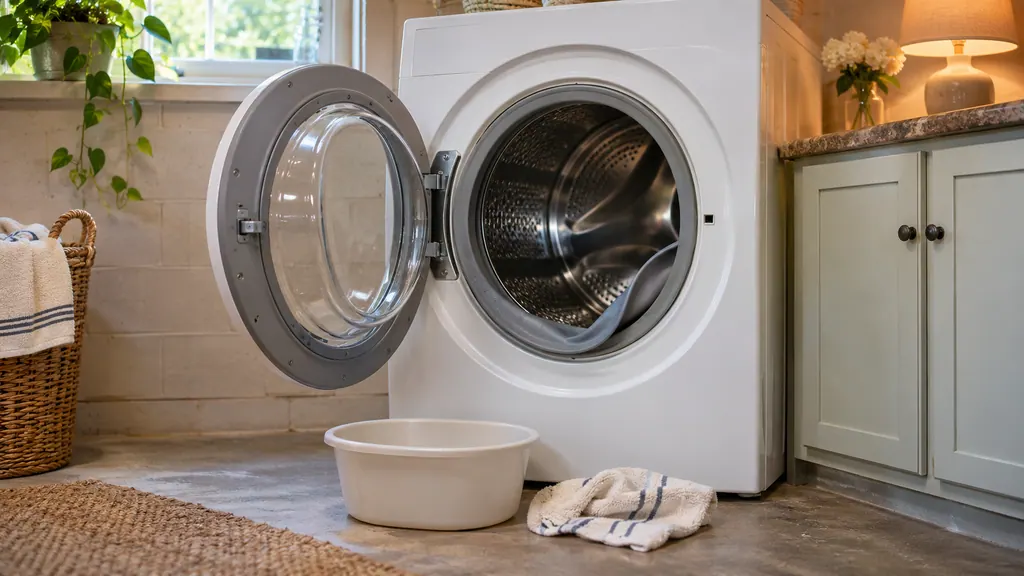
Unplug the washer, open the access panel, drain the hose into a shallow pan, then twist the filter counterclockwise and out. Clear out lint and objects, twist it back in clockwise, replace the hose plug and close the panel. 1
The filter exists to stop lint and objects such as buttons, keys and coins from reaching the pump. If the washer fails to drain properly, it is the first part the guide sends you to. 1
- 1
- 2
- 3
- 4
- 5
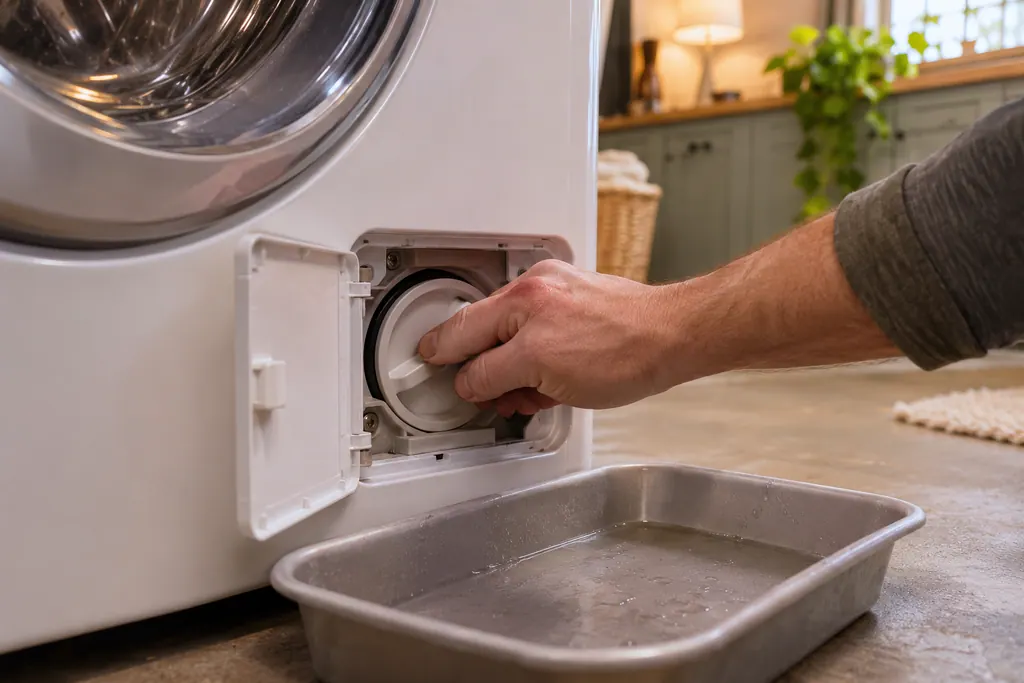
The same row of the troubleshooting table adds two other checks for a washer that drains slowly: the drain hose should be free of kinks and pinches, and the drain should be no more than 96 inches (244 cm) above the bottom of the washer. 1
For the part itself, see the drain pump filter entry.
How do I clear the water inlet filters?#
Shut both taps, unscrew the hot and cold hoses from the back of the washer, lift the two small screens out of the valves, soak them in white vinegar or lime scale remover, rinse them, press them back in and flush the hoses before you reconnect. 1
The guide says a washer that does not fill properly shows an error message, and that the screens can be plugged by hard water scale, sediment or other debris. 1 Do this when the washer fills slowly or not at all, not as a monthly chore.
- 1
- 2
- 3
- 4
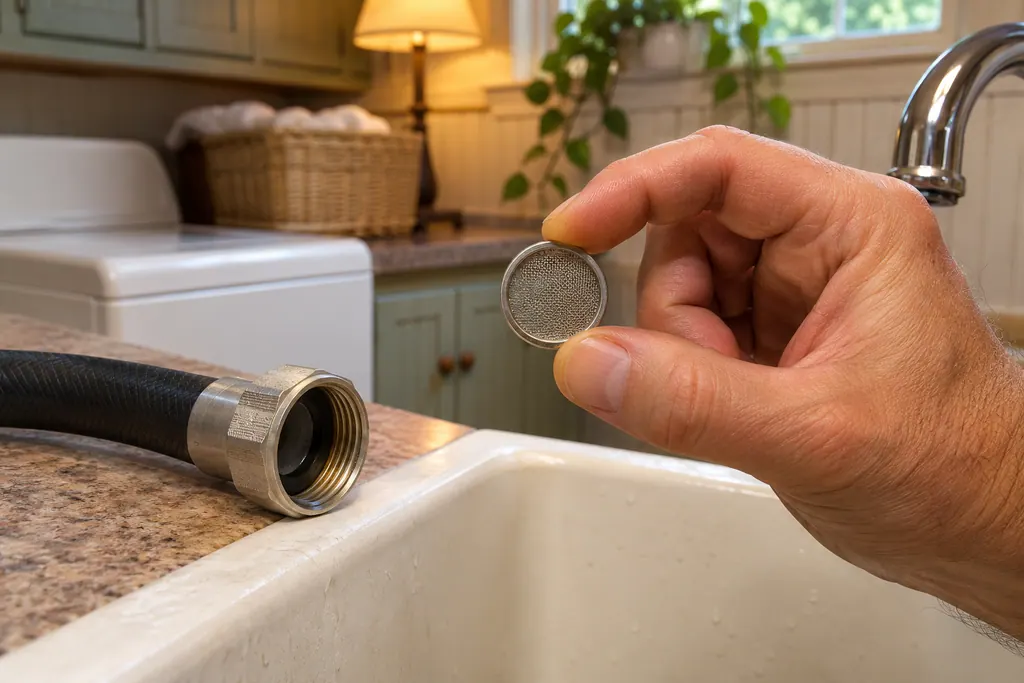
The guide adds two hose notes. Use only new, high-quality inlet hoses when you install the washer, because other hoses may not tighten correctly and could leak. It also does not recommend leak-limiting hoses, which can trip falsely and stop the washer from filling. 1
What about the Clean Washer cycle?#
The 796 guide says to run the CLEAN WASHER cycle once a month, or more often if needed, and weekly for three weeks in a row if a musty smell is present. It is a separate task from the three above. 1
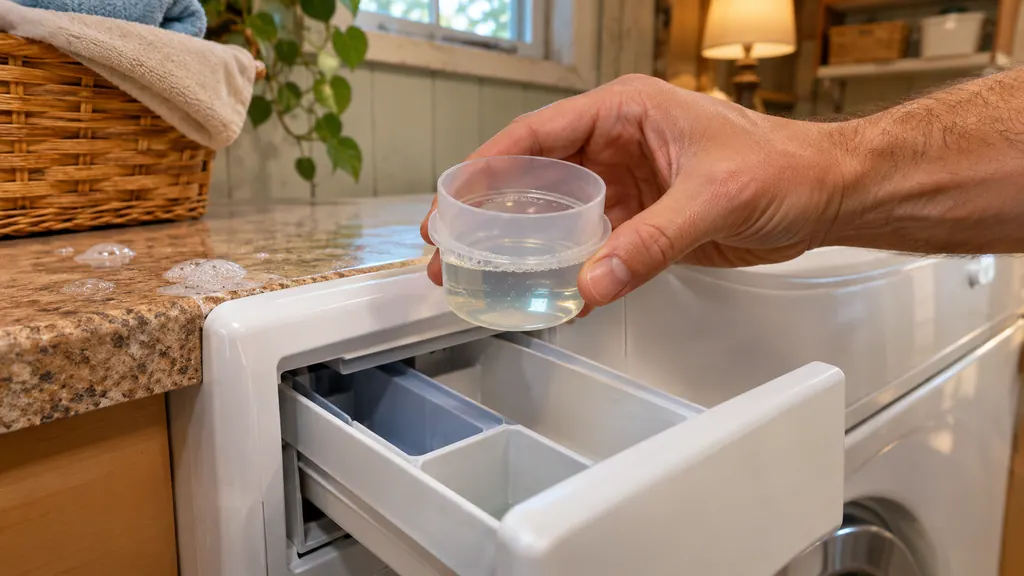
It uses liquid chlorine bleach or a drum cleaner made for front-loaders, with no clothes and no detergent in the washer. Turn the washer on, then press and hold ACCELA WASH for three seconds until the LED blinks. 1
On a 110 front-loader the procedure is different: the guide there calls for 2/3 cup of liquid chlorine bleach in the bleach compartment, no detergent, and says the cycle first checks whether items are left in the drum. 2 Follow the guide for your own family, and check the number before the dot in the model number if you are unsure which one it is.
When does a monthly routine not fix it?#
If the problem stays after all three tasks, a part has probably failed, and further cleaning will not help. The guide hands over to service in a few clear cases. 1
It does so if the washer still will not drain after the hose and filter are clear, if water will not enter with clean screens and open taps, or if a message returns after the reset the guide describes. Those are the cases to book. 1
The fill message IE and the drain message OE have their own short entries.
The technician agrees the price with you before any work starts. The exact cost is confirmed after the on-site diagnostic. You can read more on the washer service page.
Sources#
- Use & Care Guide, Kenmore front-load washers 796.4136/4146/4156Kenmore / Transform SR Brands · Document 1909134L (part MFL68005592), no date printed · pp. 40 (Door Seal and Glass Cleaning, Clean Washer), 42 (Cleaning the Water Inlet Filters), 43 (Cleaning the Drain Pump Filter), 45-46 (Before Calling for Service)
- Use & Care Guide, Kenmore front-load washers 110.4708/4709Kenmore / Sears Roebuck · Document L0809415 (part 8183014B), no date printed · p. 21 (Clean Washer procedure)