On this page
- Switch ON only after the water line is connected; before that it buzzes and can be damaged. 1
- Pressure must be 20 to 120 psi, or 40 to 120 psi with a water filter. 1
- The ice maker waits until the freezer is at 15°F or colder. 1
- Throw away the first few batches of ice. 12
- The water line is not covered by the refrigerator warranty. 1
How do I get the ice maker in my Kenmore refrigerator working?#
Connect a cold water line, open the shutoff valve fully, set the ice maker power switch to ON and let the freezer cool. The ice maker starts on its own once the freezer reaches 15°F or below. Throw away the first few batches. 1
This guide covers the Kenmore Elite 795.7802 family and the 795.7248, which print the same ice maker pages. It is about setup and use. If your ice maker has stopped making ice after working for years, see the checks near the end. 12
How long it takes#
The ice maker produces about 70 to 210 cubes in 24 hours, depending on the freezer temperature, the room temperature and how often the doors are opened. A newly installed refrigerator takes about 12 to 24 hours to start making ice and 72 hours to reach full production. 1
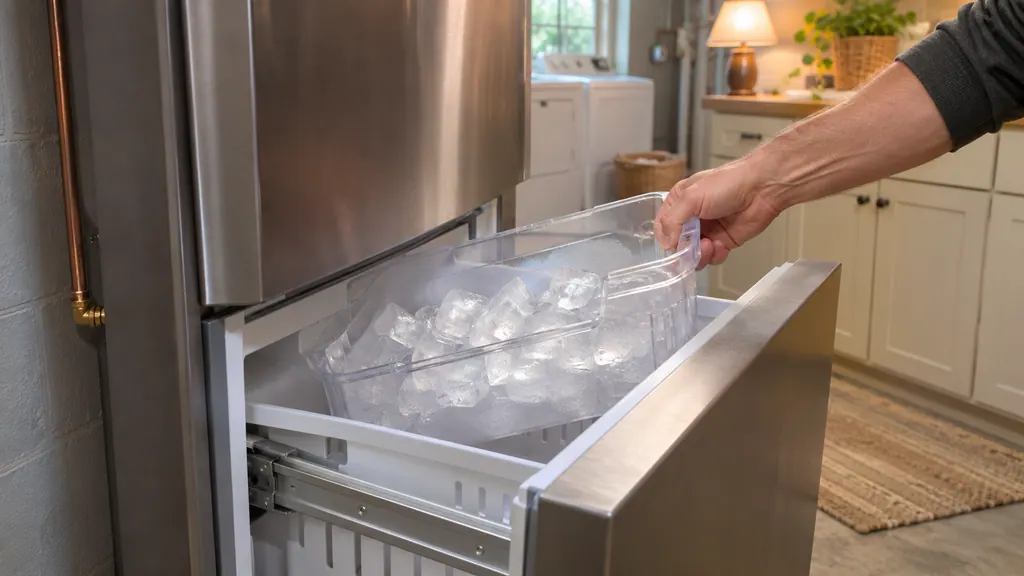
Making ice stops when the in-door bin is full. A full bin holds roughly six to eight 12 to 16 ounce glasses of ice. 1
What the switch does#
The switch turns the automatic ice maker ON (I) or OFF (O). Set it to OFF when the water supply will be shut off for several hours, when the bin is out for more than a minute or two, or when the refrigerator will not be used for several days. Empty the bin when you switch it OFF. 12
What does the water line need?#
A cold water supply at 20 to 120 psi on models without a water filter, or 40 to 120 psi on models with one. Use 1/4 inch copper or PEX tubing, never white plastic, and connect only to cold water. 1
The guide says the water line installation is not covered by the refrigerator warranty, and tells you to call a qualified plumber to cure water hammer before connecting. It also says a self-piercing saddle valve should not be used, and that saddle valves are not allowed under the Massachusetts plumbing code. 1
The steps the guide lists#
The guide numbers its installation steps. They are listed here in short form, and the guide's own illustrations show each fitting. 1
- 1
- 2
- 3
- 4
- 5
- 6
- 7
Reverse osmosis systems#
If a reverse osmosis system feeds your cold line, the guide says its pressure must be at least 40 to 60 psi, and that this installation is also not covered by the refrigerator warranty. Low pressure from such a system causes ice maker problems. 1
If pressure stays low, the guide says to check the sediment filter in the reverse osmosis system, let its tank refill after heavy use and call a licensed plumber. 1
Why is my new ice maker not making ice?#
Most often it is too soon, the switch is OFF, the water is not on or the freezer is not cold enough. The guide lists a few more: a blocked ice-detecting sensor, a kinked line and an exhausted water filter. 1
Check in this order:
- Time. After installation or connecting water, it can take up to 24 hours for the freezer to cool and ice to start. 1
- Switch. Confirm the ice maker ON/OFF switch is in the ON (I) position. 1
- Water. The unit must be connected and the shutoff valve fully open. 1
- Tubing. Straighten or repair a kinked supply line. 1
- Sensor and arm. Foreign substances or frost on the ice-detecting sensor can stop ice. If yours has a shutoff arm, it must move freely. If it has an electronic sensor, keep the path between the two sensors clear. 1
- Freezer temperature. The recommended freezer setting for normal ice production is 0°F. A warmer freezer slows ice. 1
- Doors. If the doors are not closed completely, ice production suffers. 1
- Water filter. Replace it about every six months, when the indicator turns on, when dispensing slows or when cubes get smaller. 1
Too much ice#
If the ice maker keeps making ice, the shutoff arm or sensor is blocked. The guide says to empty the bin, make sure the arm moves freely or the sensors have a clear path, put the bin back and wait 24 hours. 1
Ice that tastes or smells wrong#
Minerals such as sulfur in the water can taste or smell, and a filter may help, though it cannot remove everything. Old ice shrinks, turns cloudy and goes stale, so throw it away and make new. Food that is not wrapped well can pass its odors to the ice. 1
If the bin needs cleaning, empty it, wash it and be sure it is completely dry before you put it back. 1
What sounds are normal?#
The water valve buzzes while the ice maker fills. You will also hear cubes dropping into the bin and water running in the pipes. The guide lists all of these as normal. 1
If the switch is ON before the water line is connected, it buzzes anyway, and the guide warns that this can damage the ice maker. Move the switch to OFF to stop it. 1
Keep your fingers and hands away from the ice making mechanism while the refrigerator is plugged in. 1
Using the dispenser#
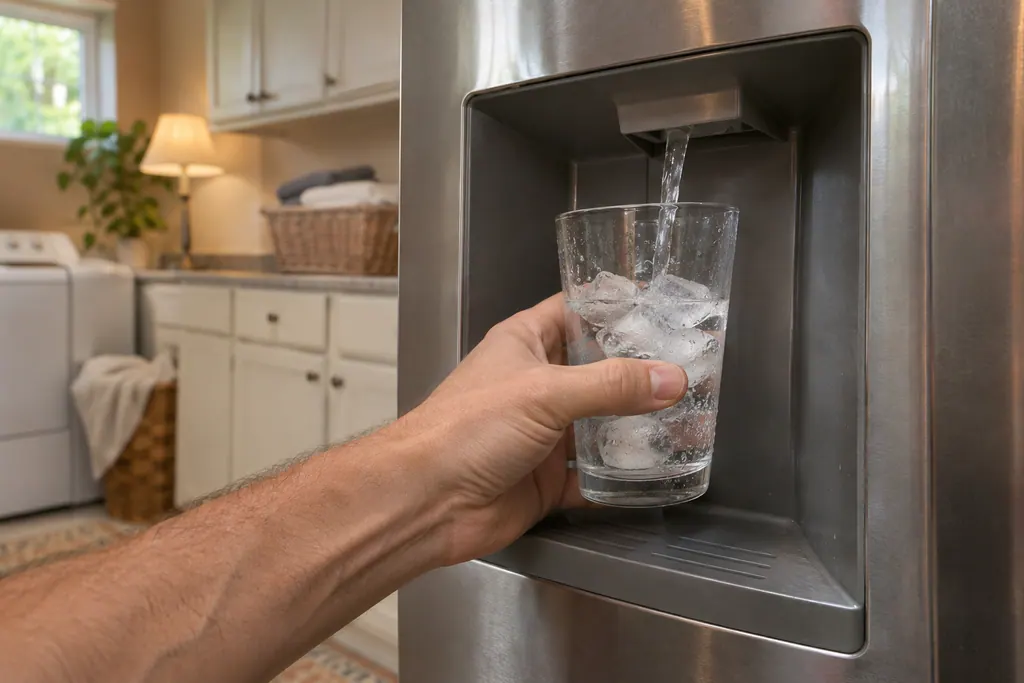
A few habits protect the ice maker and the glass. Dispense ice into a glass before pouring any liquid, never use thin crystal glass, and do not hold the glass too close to the outlet. On the 795.7248, if only crushed ice is used, frost can block the passage.
The guide says to remove the bin and clear it with a rubber spatula, and that dispensing cubed ice also helps. 2
When should I book a technician?#
Book a visit if there is still no ice after 72 hours with the switch ON, water open, tubing straight and the freezer cold; if discolored ice continues; or if water leaks at the line or under the unit. The line itself is plumbing, so a plumber handles that part. 1
Tell us the model number, how long ago the refrigerator was installed and what the water supply is. That lets us come with the right checks ready.
You can book a visit, read about our ice maker service or see the refrigerator service page. The technician agrees the price with you before any work starts. The exact cost is confirmed after the on-site diagnostic. If your unit is under the manufacturer's warranty, the manufacturer handles that repair. We give a warranty on our workmanship.
Sources#
- Use & Care Guide, Kenmore Elite bottom-freezer refrigerators 795.7802/7804/7902/7904Kenmore / Sears Brands · Document 1309443L (part MFL67851301), no date printed · pp. 28-29 (Automatic Icemaker), 37-39 (Connecting the Water Line), 43-44 (Ice & Water troubleshooting)
- Use & Care Guide, Kenmore bottom-freezer refrigerator 795.7248Kenmore / Transform SR Brands · Document 1912123L (part MFL62184470), Rev. 07, no date printed · pp. 23-24 (Automatic Icemaker), 43 (Ice & Water troubleshooting)